

A Standard Product is a single product without variations such as size or color. This option is used for simple items that are sold as one standalone product.
Follow the steps below to create a Standard product in SellEnvo.
Step 1: Open the Product Creation Page
- Go to the Products section from the main navigation bar.
- Click Create Product located in the top-right corner of the page.

The system will open the Create Product setup page.
Step 2: Choose a Product Creation Method
SellEnvo provides multiple ways to create a product depending on the information you already have.
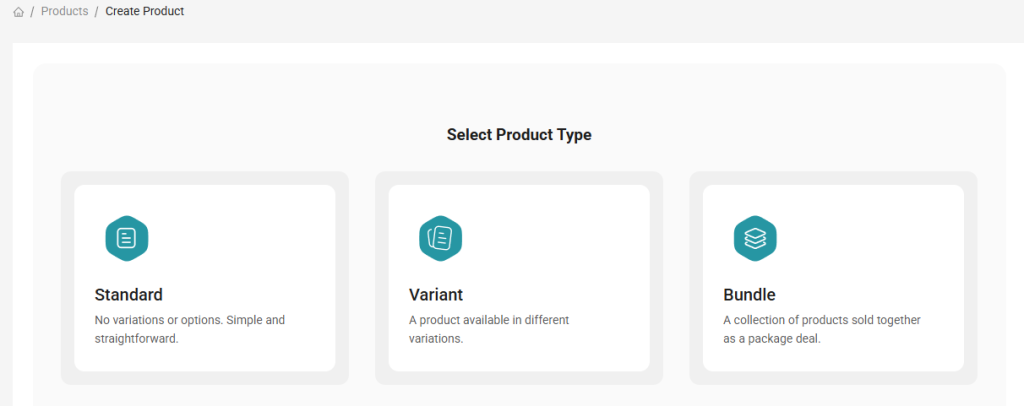
You can choose one of the following options:
Upload Image
Upload a product image and allow the AI Assistant to automatically detect product details and attributes.
Product Barcode
Enter or scan the product barcode to quickly retrieve product information.
Product with Amazon
Search for a product using Amazon data by entering the product title, SKU, ASIN, or UPC.
Text or File
Upload a file or paste product information so the system can generate the product data.
Blank Product
Create the product manually by entering all product information yourself.
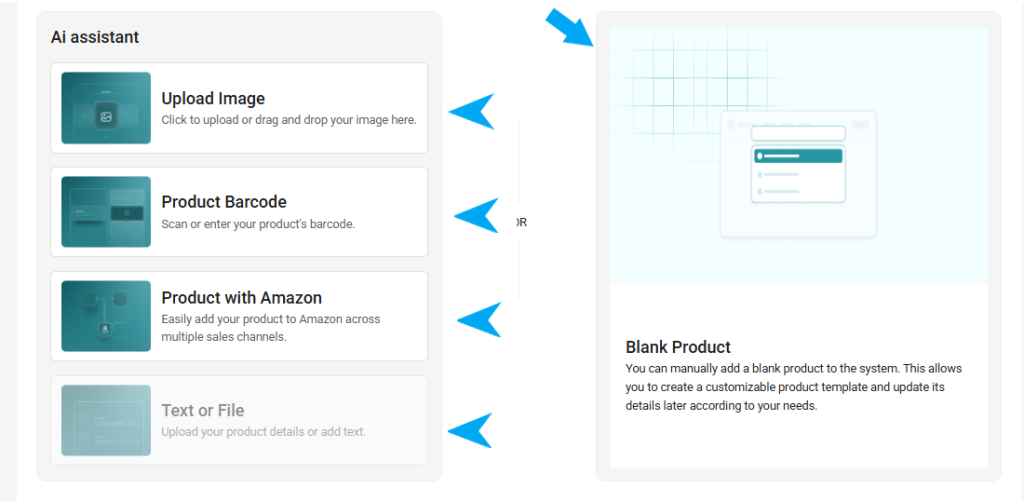
This option is ideal when you want full control over the product details.
Step 3: Select Blank Product
To manually create a Standard product:
- Select Blank Product.
- Click Next to continue.
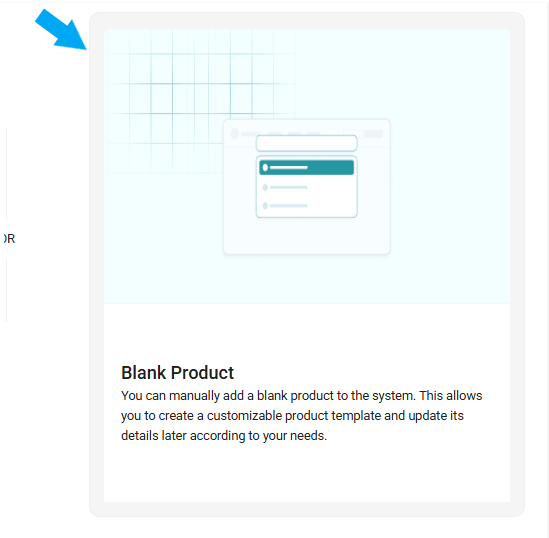
The system will open the Add Product Details page.
Step 4: Enter Basic Product Information
On the Add Product Details page, fill in the required fields:
Title
Enter the name of the product.
SKU
The SKU is a unique identifier used to track the product in the system.
Brand
Select the appropriate brand from the dropdown list.
Identifier Value (Optional)
Enter an additional product identifier if available.
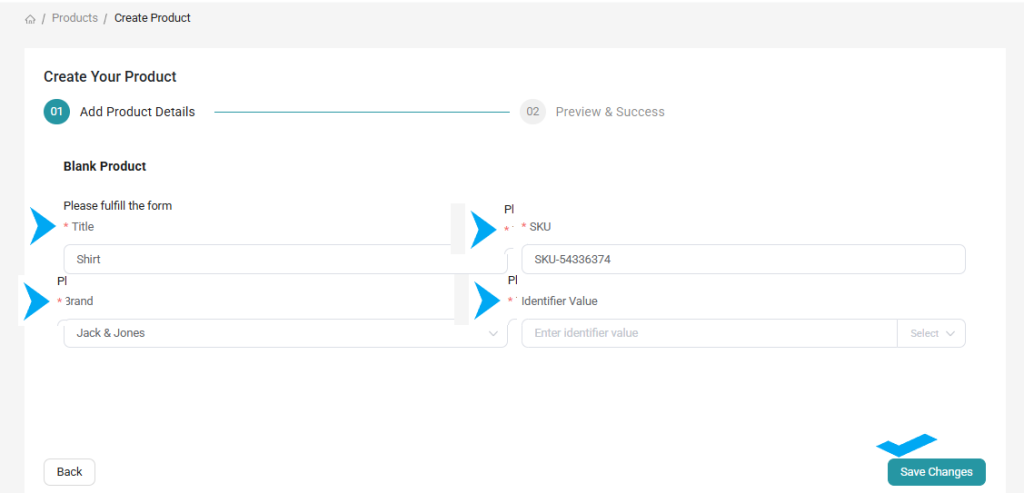
After completing the required fields, continue to the next step to review and save the product.
Step 5: Save the Product
Once the product information is completed:
- Review the entered details.
- Click Save Changes.

The product will now be created and added to the Product Catalog, where it can be edited, listed on sales channels, and managed within inventory.
Next Step
If your product contains multiple variations such as size or color, refer to:

